Easy Homemade Gluten-Free Cupcakes
Living with gluten sensitivities can be tough. Finding tasty, high-quality desserts that fit dietary needs is a challenge. That’s why I’m excited to share my gluten-free vanilla cupcake recipe. It’s a recipe I’ve perfected over the years, since 2010.
These cupcakes are easy to make and are gluten-free. They have a soft texture and a rich vanilla flavor. Your guests will love them.
These cupcakes are also budget-friendly, costing just $5 per dozen. You’ll need gluten-free flour, sugar, eggs, baking powder, dairy-free milk, and vanilla extract. The frosting, made with butter, powdered sugar, and milk, is the perfect finish.
These cupcakes are perfect for any celebration or a cozy night in. They have a bakery-style texture and a delicious flavor. You can enjoy them without worrying about gluten.
Table of Contents
Understanding Gluten Free Cupcakes Basics
Baking gluten free cupcakes can seem hard, but it’s doable with the right steps. You can make tasty wheat-free treats that hit the spot. The secret is knowing the key ingredients and techniques for the perfect texture.
Key Ingredients for Perfect Texture
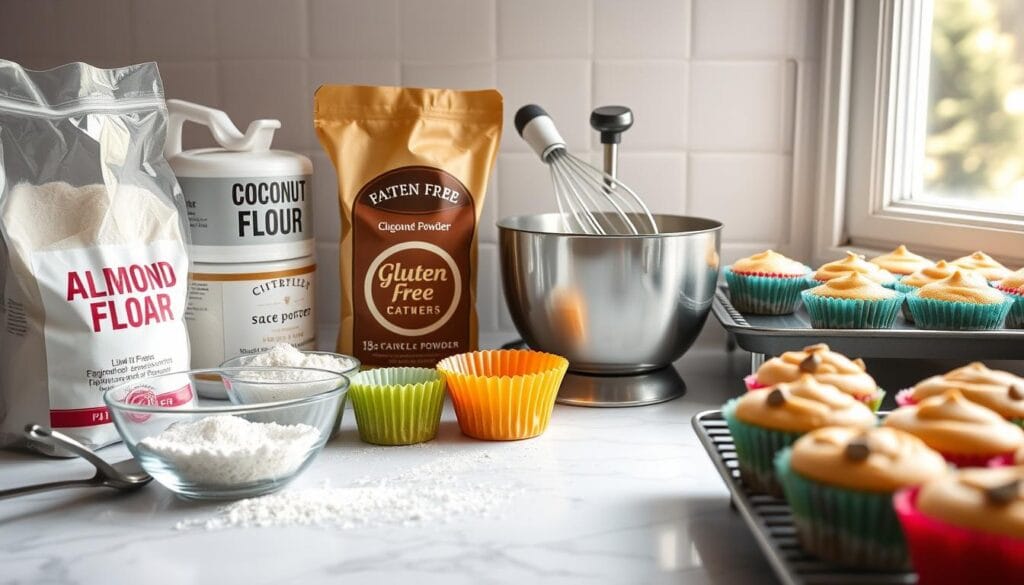
Gluten-free baking needs a special flour mix. This includes gluten-free flour, xanthan gum, and other binders. These help mimic the feel of regular baked goods. Also, using the right mix of wet and dry ingredients, like vegetable oil and room-temperature eggs, is key for the right gluten free cupcake texture.
Benefits of Homemade vs. Store-bought
While allergy-friendly cupcakes are easy to find, homemade ones are unmatched. Making your own gluten-free baking lets you pick the ingredients. This way, you can tailor flavors and ensure top-notch quality.
Essential Equipment Needed
- Muffin pan
- Cupcake liners
- Mixing bowls
- Electric mixer
- Measuring cups and spoons
- Cooling rack
It’s important to measure gluten-free flour correctly. Use the “spoon and level” method to avoid overpacking it.
Best Gluten Free Flour Blends for Baking
Choosing the right flour blend is key for gluten-free baking. Different flours have different starch content and grind sizes. This affects the texture and rise of your cupcakes. Here are some top gluten-free flour blends for perfect cupcakes:
- Cup4Cup Multipurpose Flour – This blend is a favorite among bakers. It’s made famous by the French Laundry restaurant. It’s endorsed by chef Thomas Keller and costs $17 for a 3-pound bag.
- Bob’s Red Mill Gluten Free 1-to-1 Baking Flour – This is a versatile all-purpose flour. You can use it cup-for-cup in most recipes.
- Pillsbury Gluten Free All-Purpose Flour Blend – This blend is based on rice flour. It also includes xanthan gum for better binding.
You can also make your own gluten-free flour mix. Erika’s All-Purpose Gluten-Free Flour Recipe is a good example. It combines brown rice, white rice, sweet rice, and tapioca flours with xanthan gum. This way, you have more control over the mix and can save money.
| Gluten-Free Flour Blend | Key Ingredients | Price (per pound) | Performance |
|---|---|---|---|
| Cup4Cup Multipurpose Flour | Proprietary blend | $5.67 | Consistently excellent |
| Bob’s Red Mill 1-to-1 Baking Flour | Rice flour, potato starch, tapioca flour | $2.50 | Reliable all-purpose |
| Pillsbury Gluten Free All-Purpose Flour | Rice flour, potato starch, tapioca flour, xanthan gum | $3.33 | Good for baking |
| Erika’s Homemade Blend | Brown rice, white rice, sweet rice, tapioca, xanthan gum | $2.00 | Customizable, cost-effective |
Whichever gluten-free flour blend you pick, be ready to experiment. Gluten-free flours can behave differently than wheat flour. With some trial and error, you’ll soon be baking delicious gluten free cupcakes.
Essential Ingredients for Gluten Free Cupcakes
Making tasty gluten-free cupcakes at home needs the right ingredients. From the soft texture to the creamy frosting, each part is key. Let’s look at the must-have wet and dry ingredients, the best vanilla choices, and flavor boosters.
Wet Ingredients Overview
The base of your gluten-free cupcake mix is the wet ingredients. These are:
- Vegetable oil, like olive oil, for a soft crumb
- Eggs, adding structure and richness
- Dairy or non-dairy milk, such as almond or oat milk, for moisture
- Vanilla extract, the classic flavor enhancer
Dry Ingredients Selection
The dry ingredients help make the perfect gluten free cupcake texture. Key ingredients are:
- A top-notch gluten-free flour blend, like Better Batter and corn starch
- Sugar, white and brown, for sweetness and softness
- Baking powder and salt, crucial for rise and flavor
Vanilla Options and Flavor Enhancers
Vanilla is the heart of classic cupcakes, and it’s a favorite for a reason. You can use vanilla extract or vanilla bean paste for the perfect vanilla taste. Adding espresso powder or cocoa powder can also create amazing flavors.
By picking and mixing these key wet and dry ingredients, along with the right vanilla and flavor boosters, you’re ready to bake. You’ll make moist, delicious gluten free cupcakes that will impress everyone.
Step-by-Step Mixing Techniques
Making delicious gluten free cupcakes needs careful mixing. The right steps are key for the perfect texture and rise. Let’s look at the important steps for mixing gluten-free cupcake batter.
Start by creaming the butter and sugar until it’s smooth. This step adds air, making the cupcakes tender. Then, add eggs one at a time, mixing well after each. Finally, add vanilla extract for extra flavor.
- Cream the softened butter and granulated sugar until smooth and creamy.
- Add the eggs one at a time, blending well after each addition.
- Stir in the vanilla extract to infuse the batter with delightful flavor.
Now, mix in the dry ingredients. Add the gluten-free flour, baking powder, and salt slowly. Mix just until they’re combined. Don’t overmix to avoid tough cupcakes. Then, add the milk slowly and mix for 2 minutes until smooth.
- Gradually add the gluten-free flour blend, baking powder, and salt, mixing just until combined.
- Slowly pour in the milk and mix for approximately 2 minutes, until the batter is smooth.
- Avoid overmixing to prevent the cupcakes from becoming tough and crumbly.
Let the batter rest for 15 minutes before baking. This helps the gluten-free flour hydrate. Use an ice cream scoop to fill the liners two-thirds full. This ensures the cupcakes rise well and are even for frosting.
“The key to perfect gluten-free cupcakes lies in the meticulous mixing process. By following these step-by-step techniques, you can unlock the secrets to creating delightfully tender and flavorful treats.”
With these techniques, you’ll make cupcakes that everyone will love. Your homemade gluten free cupcakes will be a hit with your family and friends.

Tips for Perfect Texture and Rise
Getting the right texture and rise in gluten free cupcakes is key to making tasty homemade treats. By using a few important techniques, you can get cupcakes that are light and fluffy. They should also have a nice domed top.
Temperature Considerations
For the best results, make sure all your ingredients are at room temperature. This helps mix everything together better. Take your eggs, milk, and butter out of the fridge about 30 minutes before baking.
Mixing Time Guidelines
Mixing your batter right is very important in gluten-free baking. Mix it for a full 2 minutes to get the right structure and texture. If you mix too much, your cupcakes will be dense and tough. If you mix too little, they might be gritty and uneven.
Proper Fill Levels
- Fill your cupcake liners about 2/3 full with batter. This gives the cupcakes room to rise and expand without overflowing.
- Bake the cupcakes at 350°F for 18-20 minutes. Rotate the pan halfway through to ensure even browning.
- Use the toothpick test to check if they’re done. The cupcakes are ready when a toothpick inserted in the center comes out clean.
- Let the cupcakes cool in the pan for 5 minutes before moving them to a wire rack to cool completely.
By focusing on temperature, mixing times, and fill levels, you can make gluten free cupcakes that are light and fluffy. They will also have a beautiful rise. These tips will help you get professional-quality results in your own kitchen.
Classic Vanilla Buttercream Frosting
Elevate your gluten free cupcakes with a luscious vanilla buttercream frosting. This classic frosting is the perfect complement to the tender, moist texture of your homemade gluten-free treats. With just a few simple ingredients, you can create a rich, creamy topping that will have your guests raving.
To make the perfect vanilla buttercream, start by creaming softened gluten-free frosting until it’s smooth and creamy. Then, add in a teaspoon of vanilla extract and mix until well combined. Gradually incorporate vanilla buttercream confectioners’ sugar, mixing until the frosting reaches your desired consistency. If the frosting becomes too thick, add a bit of milk, a tablespoon at a time, until you achieve the perfect spreadable texture.
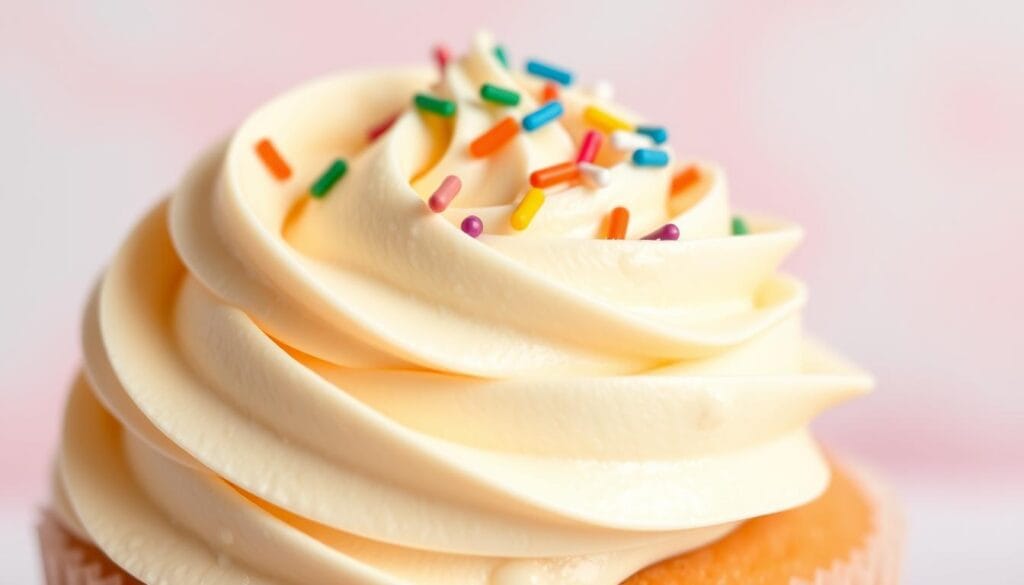
For a professional-looking finish, transfer the buttercream to a piping bag fitted with a Wilton 1M tip. Swirl the frosting onto each cupcake, creating a tall, elegant peak. Finish with a sprinkle of crushed nuts or a drizzle of caramel for an extra special touch.
If you’re looking for a dairy-free option, simply substitute the butter with a non-dairy alternative, such as Smart Balance, and use a plant-based milk instead of regular milk. The result will be a creamy, dairy-free gluten-free frosting that complements your gluten free cupcakes perfectly.
| Ingredient | Amount |
|---|---|
| Gluten-free frosting (softened) | 180g |
| Vanilla extract | 1 tsp |
| Vanilla buttercream confectioners’ sugar | 390g |
| Milk | 2.5 tbsp |
Enjoy your beautifully frosted gluten-free cupcakes and savor the rich, creamy flavors of this classic vanilla buttercream topping.

Storage and Make-Ahead Options
Storing your gluten free cupcakes is easy. For unfrosted cupcakes, keep them in an airtight container at room temperature for 2 days. If they’re frosted, refrigerate them for up to 4 days.
Want to bake ahead? Freeze unfrosted cupcakes. Wrap each one and store them in the freezer for 3 months. To serve, thaw at room temperature. For frosted cupcakes, freeze until the frosting hardens. Then, wrap and store in a freezer bag for 3 months. Thaw before enjoying.
Room Temperature Storage
- Unfrosted cupcakes can be stored in an airtight container at room temperature for up to 2 days.
- Frosted cupcakes should be refrigerated for up to 4 days.
Freezing Guidelines
- Wrap unfrosted cupcakes individually and freeze for up to 3 months.
- For frosted cupcakes, freeze until the frosting solidifies, then wrap and store in a freezer bag for up to 3 months.
- Thaw cupcakes at room temperature before serving.
Follow these easy storage and freezing tips to enjoy your gluten free cupcakes longer. Whether you’re planning ahead or need a quick snack, these methods will keep your treats fresh and delicious.
Decorating Ideas and Presentation
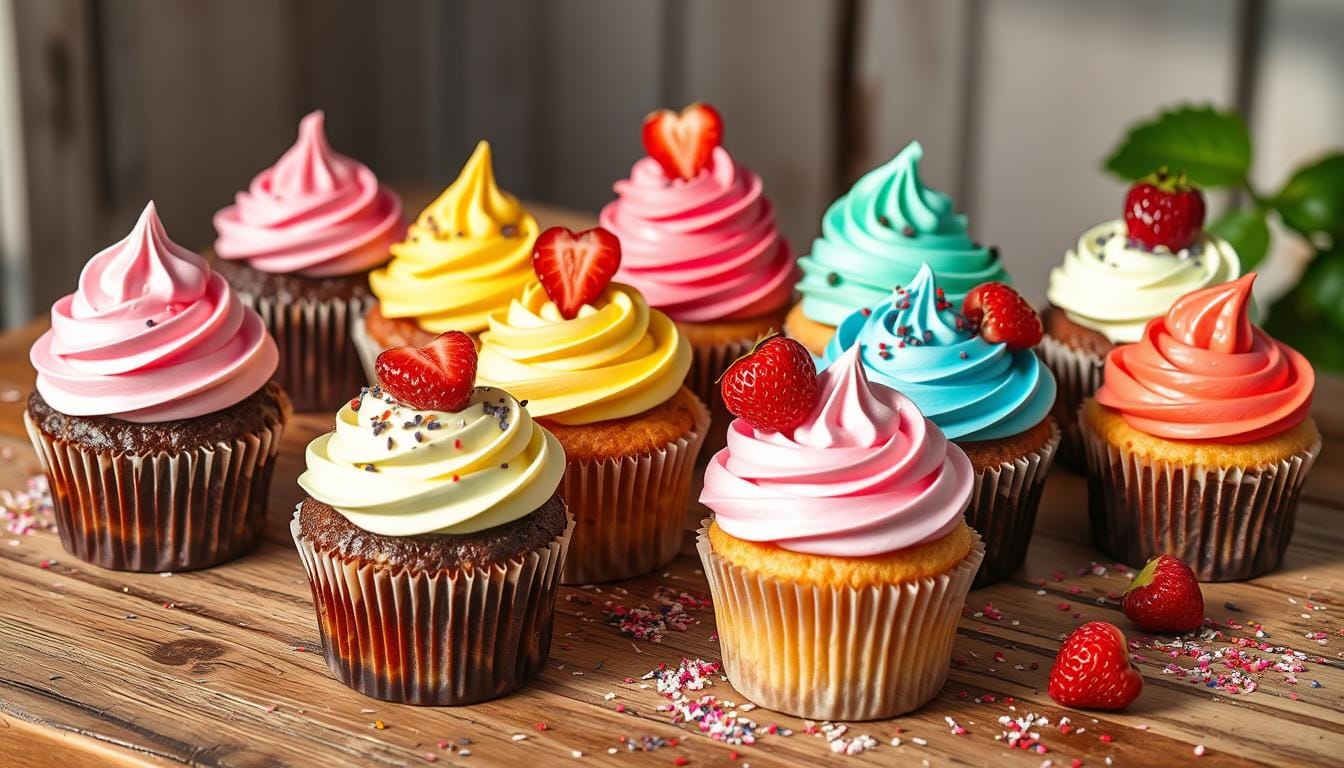
Make your gluten free cupcakes look like they came from a bakery. Use a piping bag with a large tip to create swirls of frosting. Then, sprinkle gluten-free sprinkles on top for color and texture.
For special events, add themed decorations or edible toppers. Display your cupcakes on tiered stands for a fancy look. Always check the labels of decorations to make sure they’re gluten-free.
With creativity and care, your gluten-free cupcakes can be stunning. They’ll not only taste great but also show off your baking talent. Decorating and presenting your cupcakes is a fun way to make them extra special.
FAQ
What makes these cupcakes gluten-free?
What are the key ingredients for perfect gluten-free cupcake texture?
What are the benefits of homemade gluten-free cupcakes over store-bought?
What essential equipment is needed to make these cupcakes?
Which gluten-free flour blends work best for these cupcakes?
What are the wet and dry ingredients used in these gluten-free cupcakes?
How do I properly mix the batter for the best texture?
What tips can I follow to ensure perfect texture and rise?
How do I make the classic vanilla buttercream frosting?
How can I store and make-ahead these gluten-free cupcakes?
What are some ideas for decorating and presenting these gluten-free cupcakes?
Have you tried making our recipe ?
There are no reviews yet. Be the first one to write one.

