Create a Charming Vintage Birthday Cake at Home
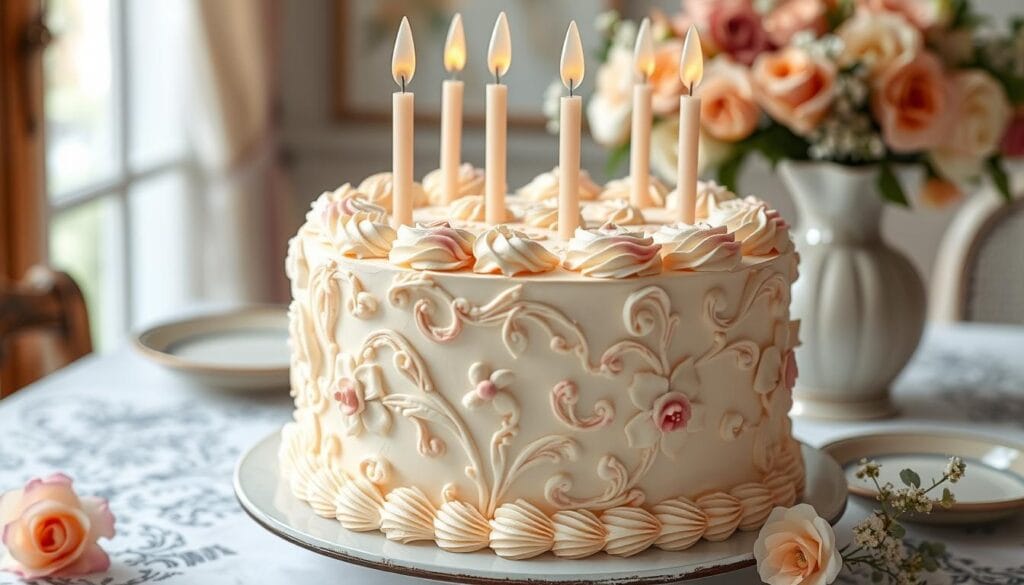
Looking at a worn photo of my grandmother’s 80th birthday, I’m taken back in time. The table’s lace doily, the candlelight’s soft glow, and the stunning vintage cake all bring back memories. These details remind me of timeless elegance, something I want to recreate in my kitchen.
Vintage birthday cakes have a unique charm. They bring back nostalgic memories and show the beauty of baking.
Planning a big birthday party, a family get-together, or a bridal shower? Making a vintage-inspired cake adds old-world magic to your event. Try the classic carrot cake with cream cheese frosting, the pineapple upside-down cake, or the hummingbird cake. These recipes honor tradition and delight your guests with their timeless tastes.
In this guide, we’ll dive into making a captivating vintage birthday cake. We’ll cover the key tools, techniques, and recipes to bring the past into your celebrations. Get ready for a tasty journey through vintage cake making, where every bite is a reminder of enduring simple pleasures.
Table of Contents
Understanding the Art of Vintage Cake Making
Learning to make vintage cakes is a fun journey. It takes you back to a time filled with classic decorations, heirloom recipes, and old baking ways. This section will show you the key tools, the special qualities of vintage cakes, and how to make a dessert that lasts forever.
Essential Tools and Equipment
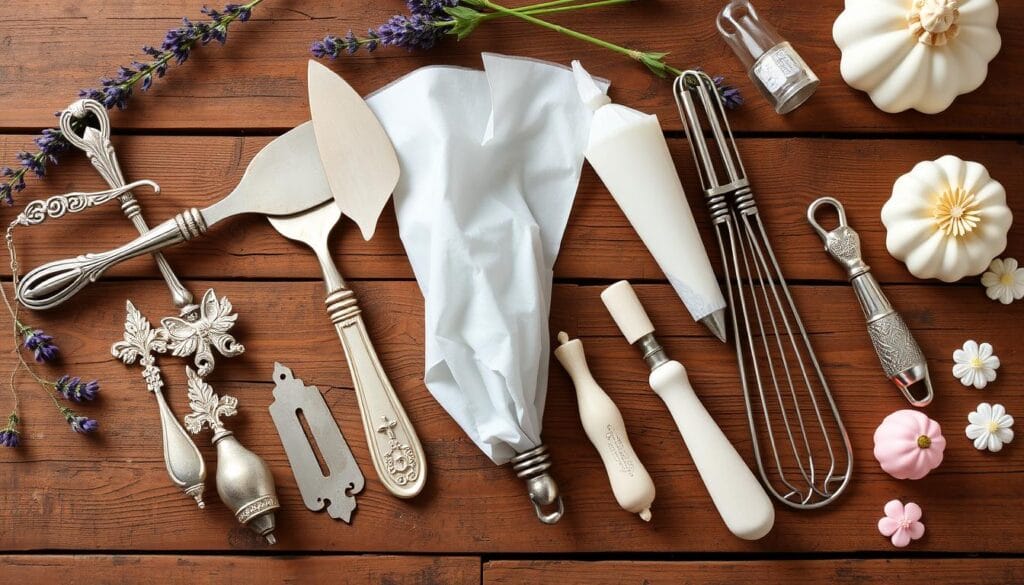
To make a vintage cake, you need special tools. Get sturdy cake pans with straight sides and flat bottoms for even baking. An offset spatula is key for smooth frosting. Also, a piping bag and tips are needed for the fancy designs of vintage cakes.
Traditional Baking Techniques
Vintage cake making uses old, trusted methods. Cream butter and sugar until it’s light and fluffy. Then, gently mix in dry ingredients for a moist cake. Always line your pans with parchment paper for easy cake release and a clean look.
Vintage Cake Characteristics
Vintage cakes are known for their rich taste, soft texture, and classic looks. They use the best ingredients, like real butter and top-notch vanilla, for a deep flavor. The cakes are decorated with buttercream rosettes, shell borders, and hand-piped designs, making them truly special.
| Vintage Cake Characteristic | Description |
|---|---|
| Moist Texture | Vintage cakes are famous for their soft, moist crumb. This is thanks to the creaming method and using high-fat ingredients like butter. |
| Rich Flavors | Vintage cake recipes use the best ingredients. This includes real butter, premium vanilla, and top-quality chocolate for deep, rich flavors. |
| Classic Decorations | Vintage cakes are decorated with timeless elements. These include buttercream rosettes, shell borders, hand-piped details, and delicate sugar flowers. |
Start your journey in vintage cake making. It’s a way to create a dessert that will amaze you and take you back to a time of beauty and grace.
Classic Recipes for the Perfect Vintage Birthday Cake Base
Making the perfect vintage birthday cake begins with a classic cake base. Recipes like red velvet, German chocolate, and Italian cream cake are timeless. They use ingredients like buttermilk, sour cream, or fruit for extra moisture and flavor.
To get the right texture, it’s important to follow the baking temperatures and times carefully. These recipes have been loved for generations. They keep the spirit of cake trends and traditional cake recipes alive. Each classic base is a solid start for your vintage birthday cake.
| Cake Type | Calories per Serving | Carbohydrates | Protein | Fat | Saturated Fat |
|---|---|---|---|---|---|
| Red Velvet | 408 kcal | 53g | 3g | 22g | 10g |
| German Chocolate | 571 kcal | 73g | 6g | 23g | 12g |
| Italian Cream | 489 kcal | 59g | 5g | 27g | 13g |
These antique cake styles are key to a memorable vintage birthday cake. Mastering these classic recipes will make your celebration special. It honors the long history of cake making.
Mastering Traditional Buttercream Frosting
Creating a charming vintage birthday cake starts with mastering traditional buttercream frosting. There are two classic types: American buttercream and Swiss meringue buttercream. Each has its own unique look and taste that can make your dessert truly special.
Swiss Meringue vs. American Buttercream
Swiss meringue buttercream is known for its smooth, velvety texture. American buttercream is simpler to make and quicker to prepare. Swiss meringue needs more effort, with egg whites and sugar cooked before adding butter. American buttercream is made with just a few basic ingredients.
Achieving the Perfect Consistency
Getting the right consistency is key for a smooth finish. It’s about finding the right mix of butter, sugar, and liquids like milk or cream. Adjusting these ingredients helps you make a frosting that’s easy to spread and looks professional.
Color Mixing Techniques
Color is crucial in vintage cake decorating. Traditional cakes often use soft pastels or bold retro colors. Learning to mix colors can help you get these vintage looks, from delicate flowers to bold patterns.
By mastering traditional buttercream and color mixing, you’ll create a stunning vintage birthday cake. It will capture the charm of a bygone era.
Essential Vintage Cake Decorating Tools
To make a vintage-inspired birthday cake, you need the right tools. These tools help you achieve a classic look. Let’s look at the key vintage cake decorating tools for a charming, nostalgic dessert.
Piping Tips for Vintage Flair
Vintage cake decorating is all about intricate piping. The right tips make a big difference. Use Wilton 1M for rosettes, 4B for shell borders, and 32 for swags and ruffles. These tips help you master old-school piping techniques.
Smoothing and Shaping Tools
For a flawless frosting finish, you need special tools. Cake combs and bench scrapers smooth out surfaces. Angled spatulas are for precise frosting and filling. A cake turntable makes decorating easier by rotating the cake.
Vintage Cake Stands and Plates
The presentation is key for a vintage cake. Choose classic cake stands, pedestals, and plates. These timeless pieces add to the cake’s nostalgic charm, taking your guests back in time with each bite.
| Tool | Purpose | Popular Brands |
|---|---|---|
| Piping Tips | Creating classic piping designs like rosettes, shell borders, and ruffles | Wilton, Ateco |
| Cake Combs and Bench Scrapers | Achieving smooth, even frosting surfaces | Ateco, Wilton |
| Angled Spatulas | Precise frosting application and filling | Cake Boss, Wilton |
| Cake Turntables | Effortless cake rotation during decorating | Wilton, PME |
| Vintage Cake Stands and Plates | Enhancing the nostalgic appeal of the finished cake | Mosser Glass, Pottery Barn |
With these vintage cake decorating tools, you’re ready to make a charming, antique-inspired birthday cake. It will impress your guests and take them back in time.

Step-by-Step Guide to Layer Cake Assembly
Making a beautiful vintage birthday cake starts with learning how to put layers together. It’s key to level and tort the layers right. Also, knowing how to fill them is crucial.
Leveling and Torting Techniques
First, level your cake layers with a serrated knife or a cake leveler. This makes the surface even. It helps your cake look smooth and even.
Then, you might want to tort the layers. This makes them thinner. It helps spread the filling evenly.
Proper Filling Methods
Vintage cakes often have fillings like fruit preserves, custards, or buttercreams. Spread your chosen filling between the layers. Make sure it’s even.
Chill the cake between each step. This keeps it stable. It stops the cake from moving or sliding.
Learning these layer cake assembly techniques will help you make a stunning vintage cake. It will impress your guests and take them back in time.
| Technique | Description | Benefits |
|---|---|---|
| Leveling | Using a serrated knife or cake leveler to create a flat, even surface on the cake layers. | Ensures a stable foundation for cake assembly, allowing for even distribution of fillings and frosting. |
| Torting | Slicing each cake layer horizontally into thinner tiers. | Facilitates even filling distribution, creating a more balanced and visually appealing cake. |
| Filling | Spreading a variety of fillings, such as fruit preserves, custards, or buttercreams, between the layers. | Adds flavor, moisture, and texture to the cake, while also helping to stabilize the structure. |
| Chilling | Refrigerating the assembled layers between assembly steps to help set the structure. | Maintains the cake’s shape and prevents shifting or sliding during the decorating process. |
“Proper layer cake assembly is the foundation for a stunning vintage-inspired birthday cake. By mastering these essential techniques, you’ll be able to create a show-stopping dessert that captures the timeless elegance of the past.”
Vintage Piping Techniques and Patterns
Take your retro cake design to the next level with vintage piping techniques. Use classic cake decorations to bring your nostalgic dream to life. You can create everything from delicate rosettes to intricate lace patterns.
Getting your buttercream frosting right is key. You want it to be just firm enough to hold its shape. Practice on parchment paper before decorating your cake. This will help you get better and feel more confident.
Vintage piping mixes borders, garlands, and central designs for a stunning look. Try out classic patterns like basketweave or floral motifs. With attention to detail and a steady hand, your cake will become a masterpiece of retro cake design art.
- Mastering Vintage Piping Techniques: Rosettes, Shells, and Swags
- Embracing Intricate Patterns: Lace, Basketweave, and Floral Motifs
- Achieving Consistent Buttercream Consistency for Precise Piping
- Incorporating Borders, Garlands, and Central Designs for a Cohesive Look
- Practicing on Parchment Paper to Hone Your Vintage Piping Skills
“The true essence of vintage cake design lies in the intricate, hand-piped details that transport us to a bygone era.”

Discover the secrets of classic cake decorations and boost your baking skills with these timeless techniques. Mastering buttercream consistency and exploring various patterns will make your cakes timeless and charming.
Creating Timeless Cake Borders and Edges
Adding a touch of elegance to your vintage birthday cake is all about the borders and edges. Learning classic techniques like shell borders and ruffles can turn a simple cake into a masterpiece. Let’s dive into how to make these timeless cake accents that will take your guests back in time.
Shell Border Variations
The shell border is a favorite in vintage cake decorating. It creates a beautiful, layered look around your cake’s top and base. Use a 1M open star piping tip to pipe shells in a row. For longer shells, press harder as you pipe.
Try reverse shells for a stunning look. These have the shell’s point facing inward.
Ruffle and Petal Techniques
Ruffles and petals add a soft, romantic touch to your cake. Use a closed star piping tip to pipe rows of ruffles or petals. Keep your piping pressure and movement steady for even borders.
These techniques look great on all cake shapes and sizes. They make your cake stand out with a timeless charm.
Whether you choose classic shell borders or soft ruffles, focus on the details. With practice, you’ll create a vintage birthday cake that’s truly unforgettable. It will celebrate the beauty of the past in a beautiful way.
Adding Nostalgic Decorative Elements
Creating a vintage-inspired birthday cake is a fun journey. It’s all about adding nostalgic touches that bring back the past. These elements add a whimsical and elegant feel, just like the old days.
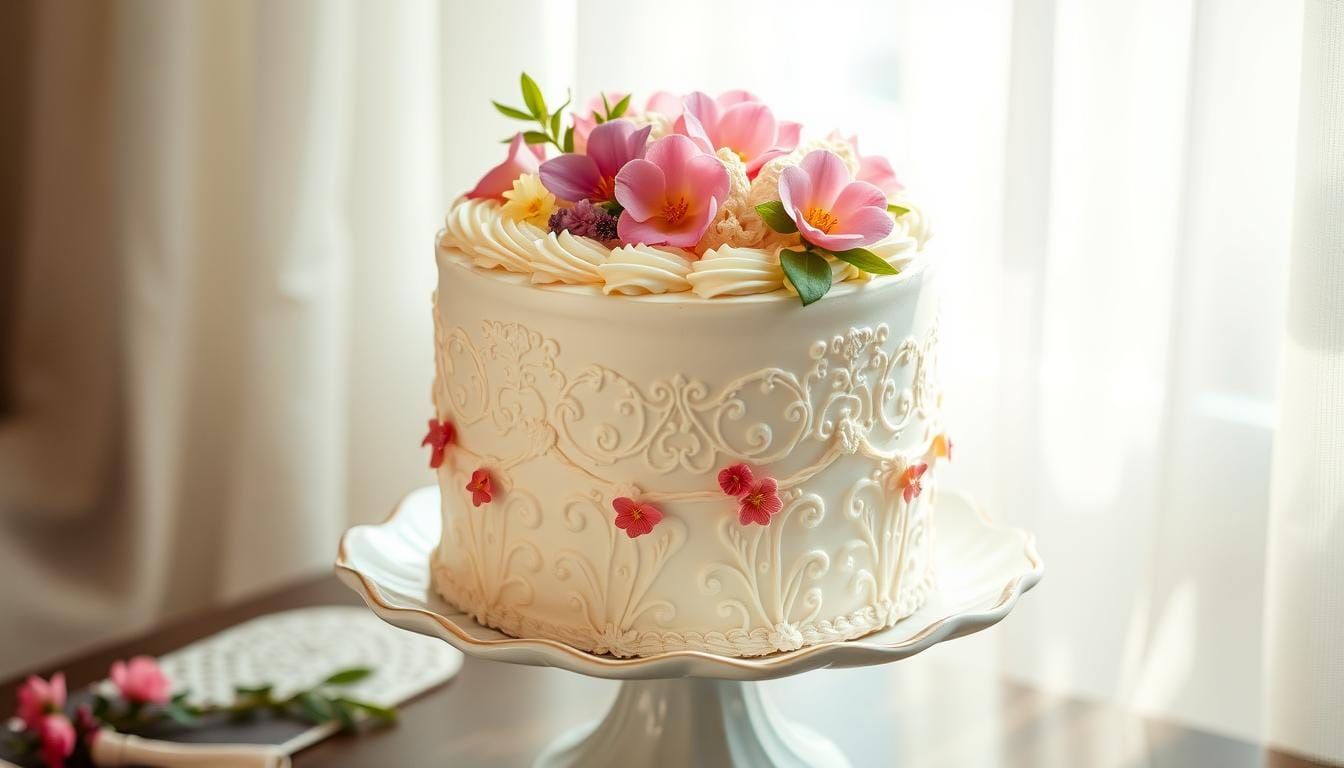
Vintage cake toppers, like tiny figurines or paper flags, make your cake special. Retro cake embellishments, such as ribbons and edible lace, add to the vintage look. For a sweet touch, use vintage cake toppers made of sugar flowers or royal icing.
Fresh flowers can also add to the vintage charm, bringing a natural beauty. Just make sure to pick colors and designs that fit the era you’re aiming for. This will make your cake feel truly vintage.
- Incorporate miniature figurines or paper flags as vintage cake toppers
- Enhance the retro aesthetic with ribbon trims and edible lace
- Add sweetness with sugar flowers or royal icing decorations
- Complement the vintage style with fresh flowers (when used safely)
- Ensure authenticity by selecting era-appropriate color schemes and motifs
“The presentation of dishes during the 1920s became more theatrical and eye-catching, reflecting the vibrant nightlife and the pursuit of unique sensory experiences.”
By carefully choosing these nostalgic elements, you can make a birthday cake that’s both delightful and timeless. It will bring a sense of elegance and charm to your celebration.
Color Palettes for Authentic Vintage Appeal
Creating a vintage-inspired birthday cake begins with picking the right colors. Traditional colors include soft pastels like mint green, baby blue, and pale pink. These colors bring a timeless, romantic feel, taking us back in time.
For a bolder look, mix contrasting colors like vibrant turquoise and rich red. These colors capture the bold, playful spirit of the past. Adding metallic accents or ombré effects gives a modern twist to classic colors.
Traditional Color Combinations
- Mint green and pale pink
- Baby blue and soft yellow
- Lavender and ivory
- Dusty rose and antique gold
Modern Interpretations of Classic Schemes
- Turquoise and crimson red
- Sage green and mustard yellow
- Ombré shades of purple
- Metallic silver with dusty blue
Think about the occasion and the person’s taste when choosing colors. A soft cake is great for kids, while bold colors are perfect for 1970s-themed parties. A well-chosen color palette makes your cake a memorable piece.
“Color is a powerful communication tool and can be used to signal action, influence mood, and even impact physiological reactions.” – Bart Schutz, Color Psychologist
Storage and Display Tips for Vintage Cakes
Keeping your vintage birthday cake looking great needs careful storage and display. Whether it’s a buttercream or fondant cake, handling it right is crucial. This helps keep its vintage charm alive.
Buttercream cakes need to be refrigerated to keep the frosting from melting. Wrap them tightly in plastic or use a cake box. Fondant cakes, however, can stay at room temperature. Just make sure they’re not near direct sunlight or heat.
For displaying, use cake stands or tiered platters that match the era. These can make your guests feel like they’ve traveled back in time. When showing your cake, think about the temperature and humidity, especially outdoors. The right storage and display will keep your cake looking great for 3-5 days.
“Vintage cakes are a true labor of love, and with the right storage and display techniques, you can ensure your creation shines for days to come.”
- Refrigerate buttercream-frosted cakes to keep the frosting firm
- Store fondant-covered cakes at room temperature away from direct heat
- Display cakes on period-appropriate cake stands or tiered platters
- Consider temperature and humidity when showcasing cakes outdoors
- Properly stored vintage cakes stay fresh for 3-5 days
By using these vintage cake preservation and retro cake display tips, your cake will be a stunning centerpiece. It will be a timeless beauty for your special day.
Troubleshooting Common Vintage Cake Issues
Baking a vintage-inspired cake is a fun journey, but you might face some challenges. Issues like dry cakes, sunken centers, and cracked frosting can happen. But, with the right techniques, you can solve these problems.
If your cake is dry, it might be because of wrong ingredient ratios or overbaking. Try adjusting the liquid ingredients like eggs or dairy. Also, make sure to mix well and control the oven temperature to avoid a dry texture.
Sunken centers can happen if the leavening isn’t right or if the oven temperature changes too much. Check that your baking soda and powder are fresh. Try adjusting the oven temperature slightly. Chilling the cake layers before putting them together can also help keep them firm.
FAQ
What are some popular vintage birthday cake flavors and designs?
What tools and techniques are essential for creating authentic vintage cakes?
What are some classic vintage cake recipes to try?
How do you make the perfect vintage-style buttercream frosting?
What tools are essential for vintage cake decorating?
How do you assemble a vintage-style layer cake?
What are some classic vintage piping techniques to try?
How do you create timeless cake borders and edges?
What nostalgic decorative elements can be used on vintage cakes?
What color palettes work best for authentic vintage-inspired cakes?
How should vintage cakes be stored and displayed?
What are some common issues with vintage cakes and how can they be solved?
Have you tried making our recipe ?
There are no reviews yet. Be the first one to write one.

