Delicious Christmas Cake Pops : Easy Recipes & Tutorials
Every holiday season is a magical time to create something special in the kitchen. As a passionate baker, I’ve found that pop cake Christmas treats are more than just desserts. They’re edible memories that bring families together.
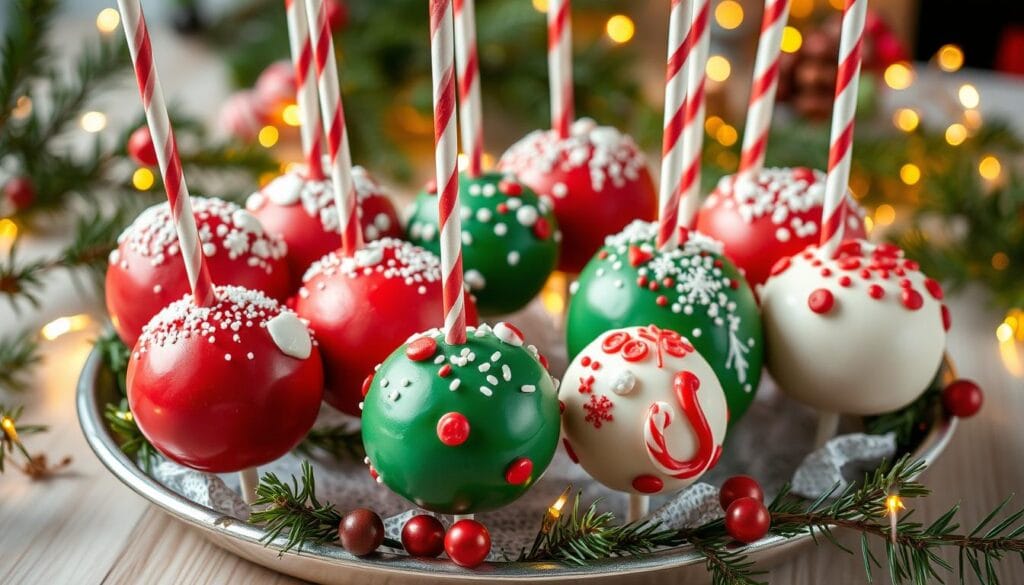
Holiday treats have a unique power to turn ordinary moments into unforgettable memories. These festive cake pops are not just desserts. They’re miniature works of art that capture the spirit of Christmas.
Whether you’re planning a family gathering or want to surprise your loved ones, these Christmas desserts will delight everyone. Kids and grandparents alike will love them.
Our holiday treats guide will show you how to make stunning pop cake Christmas designs. These designs are both delicious and visually impressive. You’ll learn professional techniques to make cake pops that look like they came from a gourmet bakery.
From picking the perfect ingredients to mastering decorating techniques, this tutorial will boost your festive baking skills. Get ready to impress your guests and create memories that will last long after the last bite is enjoyed.
Table of Contents
Essential Ingredients and Tools for Christmas Cake Pops
Making delicious christmas cake pops needs careful planning and the right tools. Whether you’re new to baking or have lots of experience, the right supplies are key. They help make your holiday treats perfect.
Basic Baking Supplies
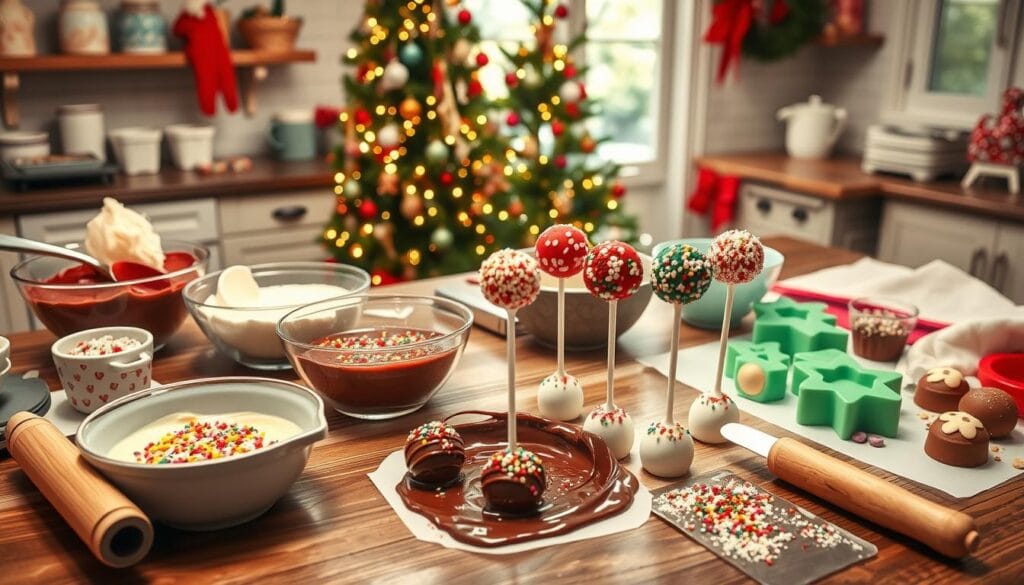
To make amazing christmas cake pops, you’ll need some basic baking items:
- High-quality cake flour
- Granulated sugar
- Unsalted butter
- Large eggs
- Pure vanilla extract
- Baking powder
Decorating Tools and Materials
To turn your cake pops into festive treats, you’ll need special decorating tools:
- Lollipop sticks (approximately 30 sticks)
- Candy melts in white (1 1/4 cup)
- Candy melts in dark green (1 cup)
- Candy melts in red (1 cup)
- Food-safe paintbrushes
- Festive sprinkles
- Styrofoam block for drying
Special Holiday Ingredients
Add a special touch to your cake pops with these holiday ingredients:
- Peppermint extract
- Crushed candy canes
- Edible glitter
- Holiday-themed food coloring
“The secret to amazing christmas cake decorating is having the right tools and a creative spirit!”
Pro tip: Get a digital kitchen thermometer. It helps with chocolate tempering. This makes your cake pop christmas treats look like they were made by a pro.
Making the Perfect Cake Base from Scratch
Starting your festive baking journey with a homemade cake base is key. It’s all about precision and passion. You want to make those Christmas cake pops that wow your loved ones.
Your cake base is the heart of your cake pops. A classic vanilla cake is ideal for holiday treats. Bakers say using fresh, quality ingredients is crucial for a moist and tasty cake.
“The secret to amazing cake pops is a perfectly crafted cake base!” – Professional Pastry Chef
Now, let’s look at the must-have ingredients for your cake base:
- 2 1/2 cups all-purpose flour
- 2 teaspoons baking powder
- 1/2 teaspoon salt
- 1 cup unsalted butter, softened
- 1 1/2 cups granulated sugar
- 3 large eggs
- 2 teaspoons vanilla extract
- 1 cup whole milk
Want to try something different? You can add flavors like chocolate or lemon. This way, you can make unique Christmas desserts that catch everyone’s eye.
| Cake Base Variation | Preparation Time | Difficulty Level |
|---|---|---|
| Classic Vanilla | 40 minutes | Easy |
| Rich Chocolate | 45 minutes | Medium |
| Zesty Lemon | 50 minutes | Medium |
For better festive baking, chill your cake mix in the fridge for 2 hours. This makes shaping into balls easier and helps with perfect cake pop formation.
With your homemade cake base, you’ll get about 40 cake pops. This is perfect for holiday parties and special events.
Crafting the Ideal Buttercream Frosting
Making the perfect buttercream frosting is key in decorating Christmas cakes. It’s the start of your festive baking journey. You’ll learn to make smooth, tasty frosting that makes holiday treats special.
Buttercream frosting is like a canvas for your holiday desserts. Bakers say using the right ingredients is crucial for the best taste.
Frosting Consistency Tips
Getting the right buttercream consistency is all about precision and skill. Here are some tips to help you:
- Use real butter at room temperature for smooth mixing
- Sift powdered sugar to prevent clumps
- Add heavy whipping cream gradually for perfect texture
- Use gel food coloring to maintain consistency
Flavor Variations for the Season
Make your holiday treats even more special with these festive buttercream flavors:
- Classic Vanilla
- Peppermint
- Eggnog
- Cinnamon
- Gingerbread
Mixing Techniques
Professional bakers use certain mixing techniques to get perfect buttercream:
| Technique | Description |
|---|---|
| Stand Mixer Method | Use paddle attachment for smooth blending |
| Gradual Sugar Addition | Add powdered sugar in small batches |
| Temperature Control | Keep ingredients at room temperature |
Pro tip: One batch of buttercream is enough for a 9×13 cake or 24 cupcakes!
By learning these decorating techniques, you’ll make buttercream frosting that turns your holiday treats into stunning works of art.
Pop Cake Christmas: Step-by-Step Formation Guide

Making perfect christmas cake pops needs care and patience. The process turns simple cake into tasty treats that wow your guests. Here’s how to make these delightful pops with expert tips.
“The key to perfect cake pops is maintaining the right consistency and temperature throughout the process.” – Professional Pastry Chef
Begin with your cake base. A standard mix makes about 30-40 pop cake christmas treats. Follow this guide to form your cake pops:
- Crumble the cooled cake into fine, even crumbs
- Mix in cream cheese frosting gradually
- Ensure mixture is moist but not overly wet
- Scoop 3-4 tablespoons of mixture per cake pop
- Roll into smooth, uniform balls
Temperature is key when making christmas cake pops. Chill the balls for 1-2 hours or freeze for 30 minutes. This keeps them in shape during coating.
| Formation Stage | Key Details |
|---|---|
| Ball Size | 3-4 tablespoons each |
| Chilling Time | 1-2 hours refrigerated |
| Calories per Pop | Approximately 96 calories |
Pro tip: Use a small cookie scoop for even sizes. Smooth out any blemishes by re-rolling after chilling. Keep your hands cool and work fast to keep the shape perfect.
Remember, practice makes perfect with christmas cake pops. Don’t worry if your first batch isn’t perfect!
Mastering the Art of Chocolate Coating
Creating stunning xmas cake pops requires perfecting your chocolate coating technique. The right approach transforms simple cake balls into festive masterpieces that will impress at any holiday gathering.
Your chocolate coating success depends on precise temperature control and proper preparation. Professionals know that consistent texture makes or breaks the final look of cake pop christmas designs.
Tempering Techniques for Perfect Shine
Tempering chocolate isn’t just technical—it’s an art form. Follow these essential steps for flawless coating:
- Heat chocolate to 110-115°F
- Cool to 83-85°F
- Reheat gently to 95°F for dipping
- Use a digital thermometer for accuracy
Color and Coating Options
Elevate your christmas cake decorating with creative color techniques. White chocolate provides an excellent base for festive colors:
- Add gel food coloring for vibrant hues
- Use candy melts for easier coloring
- Mix colors to create unique shades
Troubleshooting Common Coating Issues
“Smooth coating is the secret to professional-looking xmas cake pops!”
Prevent common coating problems with these expert tips:
- If chocolate cracks, it’s too hot
- Let chocolate cool slightly before dipping
- Tap off excess coating for clean finish
- Use styrofoam block for upright setting
By mastering these chocolate coating techniques, you’ll create xmas cake pops that look professionally crafted and taste absolutely delicious.
Creative Holiday Decorating Ideas
Turn your cake decorating into festive masterpieces with these new design techniques. Your desserts can become stunning works of art. They will impress family and friends during the holiday season.

When you start festive baking, try these exciting decoration strategies:
- Create whimsical holiday characters like snowmen and reindeer
- Use edible glitter for sparkling winter wonderland effects
- Experiment with multiple chocolate coating colors
- Add crushed candy canes for festive texture
Professional decorators say to apply sprinkles right after dipping in chocolate. This ensures they stick well and look amazing.
“The secret to amazing christmas cake decorating is creativity and attention to detail” – Professional Pastry Chef
Unique decorating techniques can make your cake pops stand out. Try these advanced methods:
- Use gel food coloring to tint white chocolate in vibrant holiday shades
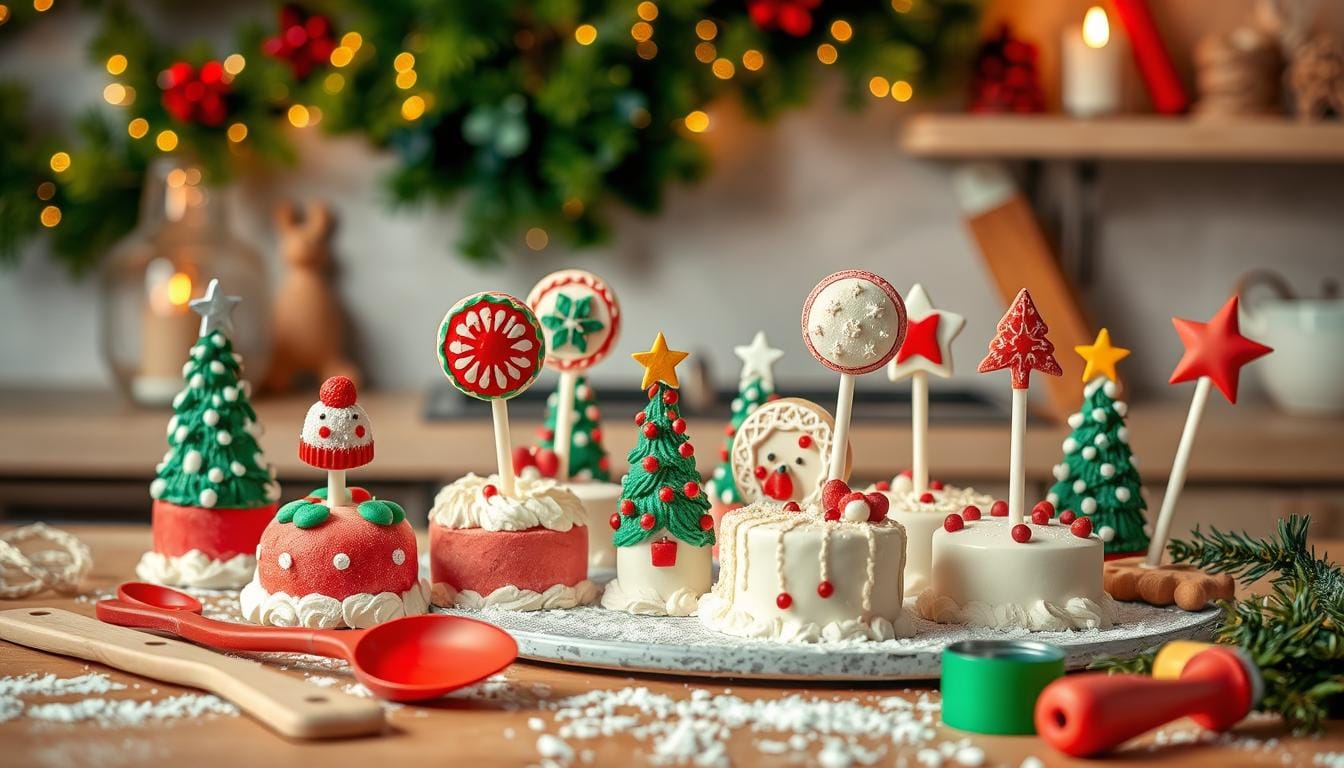
- Create intricate designs with miniature fondant decorations
- Design edible antlers for reindeer-themed cake pops
- Incorporate metallic edible paint for elegant accents
Your desserts will be unforgettable with these creative decorating ideas. They mix traditional holiday charm with modern artistic techniques.
Professional Tips for Perfect Shape and Texture
Making perfect christmas cake pops needs skill and precision. Whether you’re new or experienced, learning how to make them can boost your holiday dessert skills.
For cake pop christmas treats, being consistent is crucial. The right techniques can turn your desserts into professional-looking treats.
Rolling and Shaping Techniques
Here are professional methods for uniform cake pops:
- Use a small cookie scoop for consistent sizing
- Roll balls between palms with gentle, even pressure
- Aim for smooth, round surfaces without cracks
- Keep mixture chilled to maintain shape
Temperature Control Secrets
Temperature management is key for perfect christmas cake pops. Here are some expert tips:
| Stage | Temperature Recommendation |
|---|---|
| Initial Chilling | 30 minutes in freezer |
| Additional Chilling | 1 hour after rolling |
| Chocolate Coating | Room temperature (around 70°F) |
Storage Solutions
Proper storage keeps your cake pops fresh and quality intact. Follow these storage tips:
- Store in airtight container
- Refrigerate for 2-3 days
- Freeze unfrosted cake balls up to 6 weeks
- Thaw in refrigerator before final decoration
“The secret to perfect cake pops is patience and precision in every step.” – Professional Baker
With these professional techniques, you’ll make stunning christmas cake pops. They’ll impress at any holiday party.
Advanced Decorating Techniques for Festive Designs
Christmas cake decorating turns simple xmas cake pops into magical art. Your baking skills will soar with these advanced techniques. They make ordinary treats into stunning holiday wonders.
Professional bakers suggest several ways to make your xmas cake pops stand out:
- Create intricate marbling effects by swirling different colored chocolate coatings
- Use fine-tipped paintbrushes to add delicate food coloring details
- Apply edible metallic dusts for a shimmering holiday finish
- Experiment with textural elements like chopped nuts or coconut
Sculpting holiday characters needs precision and creativity. Try these design ideas:
- Craft 3D Santa hats using modeling chocolate
- Design snowflake decorations with fondant
- Shape reindeer faces using chocolate details
“The secret to amazing cake pops is patience and imagination” – Professional Pastry Chef
Your skills in christmas cake decorating will be showcased by mastering layered coating techniques. Try different textures and colors to make unique festive designs. They will surely impress your family and friends.
Storage and Make-Ahead Guidelines
Making festive holiday treats like pop cake christmas needs smart planning and storage. You can prepare your desserts ahead of time. This helps avoid last-minute stress during the holiday rush.
Storing your desserts right is key to keeping them fresh and tasty. Here are some important tips to follow:
- Room Temperature Storage: Keep cake pops in an airtight container for up to 2 days
- Refrigerator Storage: Extend shelf life to one week by refrigerating
- Freezer Storage: Freeze fully decorated cake pops for up to 6 weeks
Pro tip: Always separate cake pop layers with parchment paper to prevent sticking and preserve their beautiful decorations.
“The secret to stress-free holiday baking is preparation and smart storage techniques.”
For stress-free holiday baking, consider these make-ahead tips for your pop cake christmas:
- Bake cake bases up to 3 days before decorating
- Prepare buttercream frosting and store in the refrigerator for up to a week
- Create decorative elements like fondant shapes in advance
Thawing frozen holiday treats takes time. Take cake pops out of the freezer and let them thaw slowly in the fridge overnight. This keeps your desserts fresh and flavorful.
Homemade cake pops stay fresh for about a week when kept in the fridge. By following these storage tips, you’ll make impressive and tasty holiday treats. They’ll surely impress your family and guests.
Transport and Display Solutions
When you’re getting ready for holiday parties, think about how you’ll transport and display your Christmas cake pops. These special treats need extra care to stay festive and tasty.
Keeping your cake pops safe on the way is important. Here are some tips to help:
- Use a sturdy container with a flat bottom
- Keep cake pops upright to prevent damage
- Insert sticks into a styrofoam block for stability
- Chill pops before transport to harden coating
How you present your cake pops is just as important as how you protect them. Here are some ideas to wow your guests:
- Arrange cake pops in a festive Christmas tree formation
- Wrap individual pops in clear cellophane with ribbon
- Use decorative stands or foam blocks for vertical display
- Create themed arrangements matching your holiday decor
Pro tip: Temperature control is key to maintaining the perfect texture and appearance of your christmas cake pops during transport.
Careful handling ensures your holiday treats arrive looking as beautiful as they taste. By using these tips, your cake pops will be the highlight of any holiday party.
| Transport Method | Recommended Technique |
|---|---|
| Short Distance | Styrofoam block with pre-chilled pops |
| Long Distance | Insulated container with gel ice packs |
| Gifting | Individual cellophane wrap with festive ribbon |
Conclusion
Creating Christmas cake pops is more than baking. It’s a way to celebrate the holiday season with creativity. These treats mix flavor, design, and festive spirit, making any event unforgettable.
Learning to make pop cake christmas treats opens up a world of decorating. You can go from classic winter themes to modern designs. Your cake pops can show off your style and bring joy to others. Just remember to practice and let your creativity shine.
These holiday treats are for everyone, whether you’re new to baking or have lots of experience. You can try different coatings, decorations, and designs. This way, each batch of cake pops will be special. Enjoy baking and share your creations with those you love.
Don’t worry if your cake pops aren’t perfect at first. With each try, you’ll get better. Soon, making these treats will become a special tradition for your family. It will add warmth and sweetness to the holiday season.

