Easy No-Bake Jello Cheesecake Recipe | Ready in 30 Minutes
As the sun shines through the kitchen, summer is near. Your thoughts turn to desserts that make any event special. The easy no-bake Jello cheesecake is perfect, with its creamy texture and bright flavors.
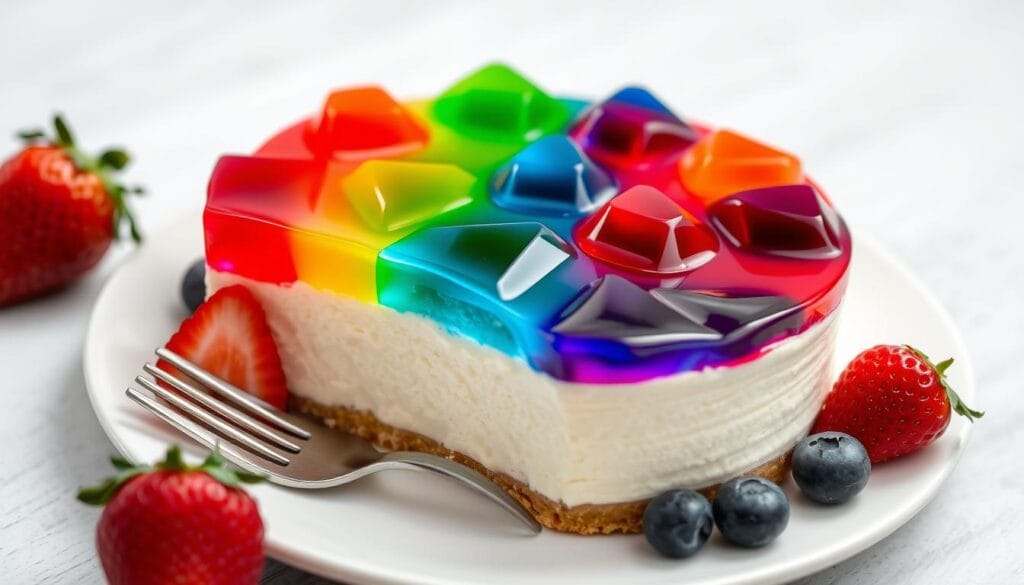
This recipe is quick and easy, ready in just 30 minutes. It’s ideal for summer gatherings, like barbecues or picnics. The no-bake Jello cheesecake combines cheesecake’s creaminess with strawberry Jello’s freshness.
Your guests will love the smooth filling and sweet-tangy taste. The graham cracker crust adds a nice crunch. This easy no-bake Jello cheesecake is sure to impress, making any event unforgettable.
Table of Contents
Why This No-Bake Cheesecake Will Become Your Go-To Dessert
This no-bake Jello cheesecake is the top pick for summer fun. It’s a hit at parties with its cool, refreshing taste. Plus, it’s easy to make ahead, making it your new favorite dessert.
Perfect for Summer Entertaining
As summer heats up, this cheesecake is a cool treat. Its light texture and bright Jello flavors are a hit. You can serve it in mini pies or as a big showstopper. Either way, it will wow your guests.
No Oven Required
This cheesecake is easy to make because it doesn’t need an oven. You can avoid the heat and still make a delicious dessert. Just mix, chill, and serve. It’s a stress-free way to enjoy a party.
Make-Ahead Friendly
Summer parties can be busy, but this cheesecake helps. You can make it up to five days before. Then, when guests arrive, just grab it from the fridge and serve. It’s a stress-free way to enjoy your party.
“This no-bake Jello cheesecake is the ultimate party favorite, offering a refreshing chilled delight that’s perfect for summer entertaining.”
Essential Ingredients for Your Jello Cheesecake
Making a no-bake Jello cheesecake is easy with just a few ingredients. You’ll need a creamy cream cheese filling and a sweet graham cracker crust. Don’t forget the Jello powder, like strawberry, for that special flavor.
Other ingredients make the cheesecake even better. Powdered sugar adds sweetness, and whipped cream makes it light. Melted butter holds the crust together, and vanilla extract boosts the taste.
For a stunning fruity topping, use fresh strawberries or other berries. You can also add fruit preserves or a warm fruit compote for extra flavor.
With these ingredients, you’re ready to make a delicious no-bake Jello cheesecake. Let’s get started and make this dessert a hit!
Kitchen Tools and Equipment Needed
To make a delicious no-bake Jello cheesecake, you’ll need some basic kitchen tools. A springform pan is essential, and a 9-inch size is ideal. It helps create a smooth, professional-looking cheesecake. An electric mixer, whether a hand mixer or a stand mixer, is also crucial. It blends the creamy filling ingredients into a silky-smooth consistency.
You’ll also need a few more items. Silicone spatulas are great for scraping the bowl and making sure all filling is mixed well. A rubber spatula is useful for smoothing the cheesecake’s top. Lastly, don’t forget measuring cups and spoons. They’re key for accurately measuring the ingredients for the crust, filling, and Jello topping.
Must-Have Mixing Tools
- 9-inch springform pan
- Electric hand mixer or stand mixer
- Silicone spatulas
- Rubber spatula
- Measuring cups and spoons
Recommended Serving Pieces
For serving your no-bake Jello cheesecake, use a classic pie dish or individual plates. They showcase the beautiful layers and vibrant Jello topping. Remember a sharp knife for slicing and a wide spatula for transferring slices to plates.
| Tool | Purpose |
|---|---|
| Pie dish or individual plates | Serving the cheesecake |
| Sharp knife | Slicing the cheesecake |
| Wide spatula | Transferring slices to plates |
Creating the Perfect Graham Cracker Crust
The crust is the heart of any great no-bake cheesecake. You can choose between a classic graham cracker crust or try Oreo cookie crumbs. Either way, making the perfect base is crucial for a smooth and creamy cheesecake.
To make a graham cracker crust, mix crushed graham cracker crumbs with melted butter and a bit of brown sugar or cinnamon. The Raspberry Jello Dessert recipe, for example, uses 1-1/2 cups + 2 tablespoons of graham cracker crumbs and 3 tablespoons of granulated sugar for the crust.
After mixing the ingredients, press the mixture firmly into the bottom of your springform pan or mini pie crusts. Make sure to pack it down tightly. This creates a sturdy base for your cheesecake filling. Chill the crust in the refrigerator until it’s firm before adding the creamy topping.
For an Oreo cookie crust, replace the graham cracker crumbs with finely crushed Oreo cookie crumbs. Follow the same steps. The rich chocolate flavor of the Oreos complements the cool, creamy cheesecake perfectly.
Whether you choose graham cracker or Oreo cookie crumbs, the key is to make sure the crust is well-compacted and chilled before adding the filling. This prevents the crust from crumbling and gives your no-bake cheesecake a solid foundation.
Mastering the Cream Cheese Filling
Making the perfect creamy dessert with a smooth texture is key for your no-bake Jello cheesecake. Start by softening your cream cheese to room temperature. This makes it easy to mix without lumps.
Temperature Tips for Ingredients
Let the cream cheese sit at room temperature for about 30 minutes before starting. This ensures it blends well with other ingredients. Also, make sure your sour cream and whipped topping are at room temperature. This will help achieve a smooth texture.
Mixing Techniques for Smoothness
- Beat the softened cream cheese with an electric mixer until it’s light and fluffy.
- Add powdered sugar slowly, mixing well after each addition to avoid lumps.
- Add the sour cream for a tangy and creamy touch.
- Fold in the whipped topping gently, being careful not to overmix and lose the airy texture.
By following these steps, you’ll get a creamy dessert filling that’s incredibly smooth. It will enhance the Jello and graham cracker crust perfectly.
“The key to a silky-smooth cheesecake filling is all in the technique. Take your time and let the ingredients come together perfectly.”
How to Incorporate Jello for Best Results
Adding the perfect gelatin treat and fruity flavor to your no-bake cheesecake is a game-changer. By carefully mixing Jello into the creamy filling, you can take your dessert to new heights. Follow these steps to master the art of Jello-infused cheesecake perfection:
- Dissolve the Jello powder in boiling water, allowing it to cool slightly. This crucial step ensures the gelatin is fully dissolved and ready to integrate seamlessly into the filling.
- Slowly pour the Jello mixture into the cream cheese mixture while whipping on low speed. Scrape down the sides of the bowl to ensure thorough incorporation.
- Mix the Jello-infused filling until it’s completely smooth and homogeneous. This step is crucial for creating a silky-soft texture throughout the cheesecake.

By following these simple steps, you’ll achieve the perfect balance of gelatin treat and fruity flavor in your no-bake cheesecake. The Jello will add a delightful pop of color and a refreshing fruit-forward taste. Your guests will surely swoon.
Step-by-Step Assembly Process
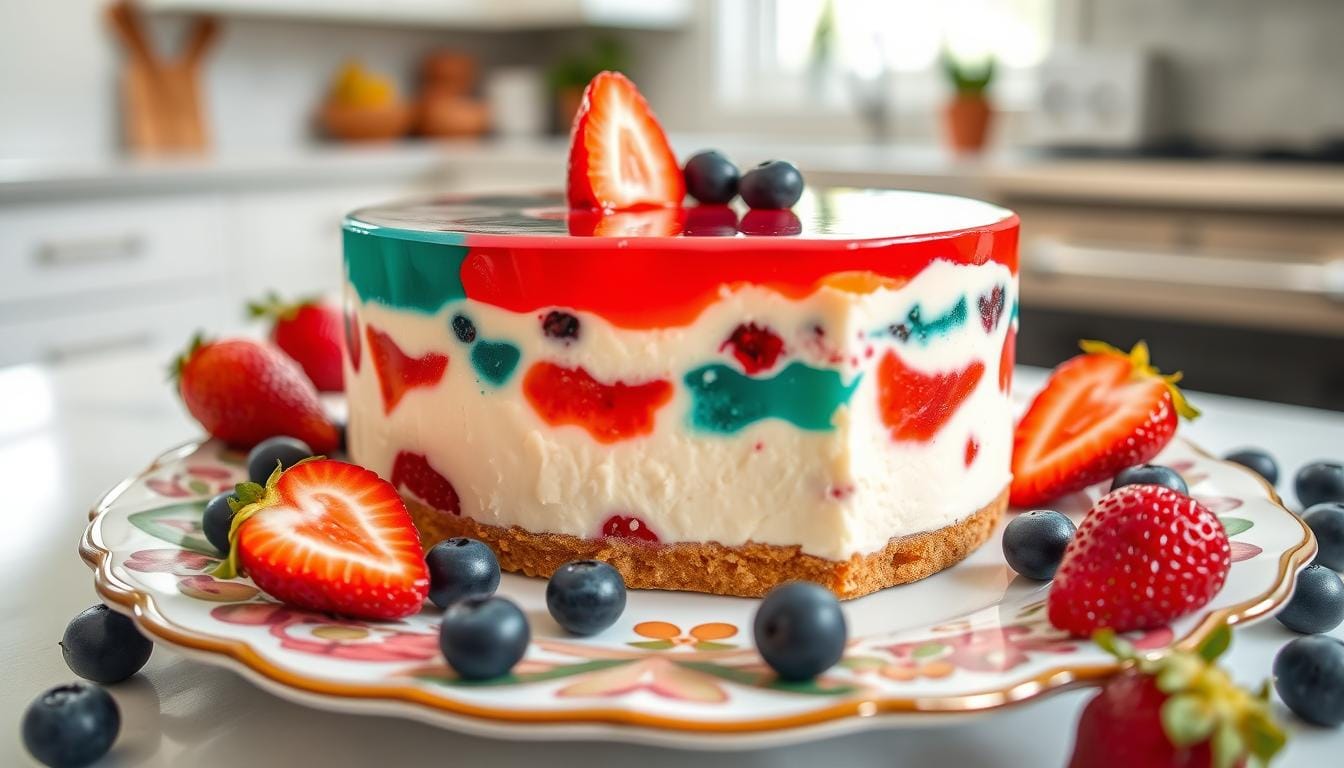
Making your no-bake lemon cheesecake is easy. First, pour the creamy cheesecake mix over the graham cracker crust. Use a rubber spatula to smooth the top, making it even.
To add a nice touch, layer fresh fruit like strawberries or blueberries between the crust and filling. This adds a pop of color and flavor. Tap the pan to get rid of air bubbles.
Layering Tips
- Start with a sturdy graham cracker crust as the foundation.
- Carefully pour the cheesecake filling over the crust, smoothing the top with a spatula.
- If desired, add a layer of fresh fruit or lemon curd between the crust and filling.
- Gently tap the pan to release any air pockets in the cheesecake mixture.
Smoothing Techniques
- Use a rubber or offset spatula to gently smooth the top of the cheesecake filling.
- Run the spatula around the edges of the pan to ensure a clean, even finish.
- If the surface appears slightly uneven, use the back of a spoon to lightly press and smooth the top.
Follow these tips for a stunning no-bake lemon cheesecake. It will impress everyone with its layered look and creamy texture. It’s perfect for any event.
Chilling and Setting Guidelines
To get the perfect chilled delight, your no-bake Jello cheesecake needs specific chilling times. First, chill the cheesecake in the fridge for at least 4 hours or overnight. This lets the cream cheese filling firm up and the flavors blend beautifully.
For a firmer texture, freeze the cheesecake for 2 hours before serving. This makes it dense and creamy. But, let it sit at room temperature for 30 minutes before eating. This helps it go from frozen to perfectly chilled.
| Chilling Method | Time Required | Texture Outcome |
|---|---|---|
| Refrigerate | At least 4 hours, or overnight | Firm and creamy |
| Freeze | 2 hours, then 30 minutes at room temperature | Dense and creamy |
Be patient and don’t rush to eat it. The longer it chills, the better it tastes.

“The longer the no-bake cheesecake chills, the better the setting time and the more delectable the final result.”
With a bit of planning and the right chilling times, your Jello cheesecake will impress everyone. It will be the star of any gathering, bringing pure delight to all who taste it.
Decoration and Serving Suggestions
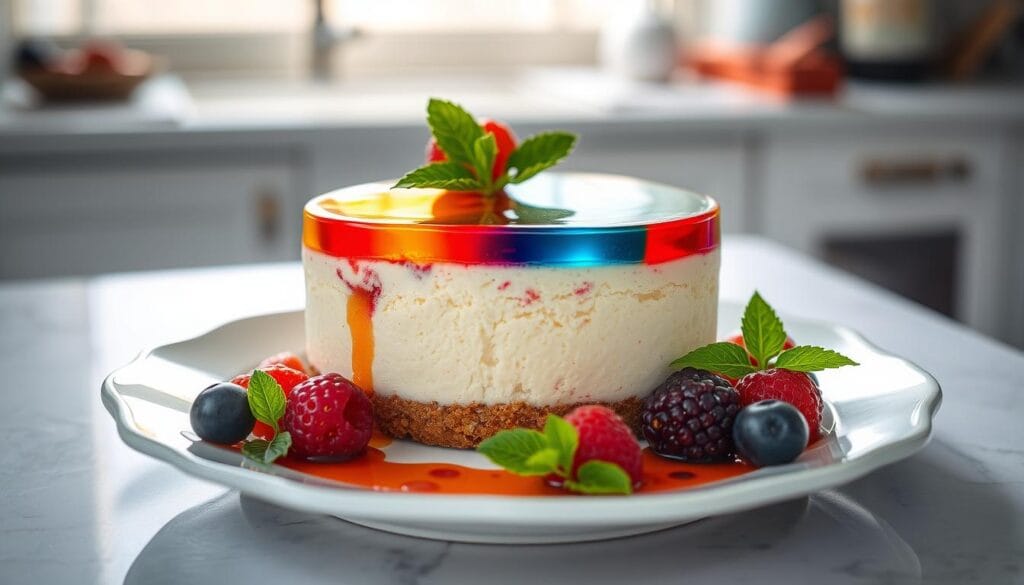
Make your no-bake Jello cheesecake stand out with creative toppings and presentation. Start by topping each slice with a dollop of whipped cream topping and some fresh fresh fruit garnish. Choose strawberries, raspberries, or blueberries for a pop of color and flavor.
For a luxurious touch, drizzle the cheesecake with fruit coulis or chocolate sauce. These sauces add a gourmet twist and enhance the creamy texture. You can also sprinkle shaved dark chocolate or cocoa powder on top for a fancy finish.
Topping Ideas
- Whipped cream topping
- Fresh strawberries, raspberries, or blueberries
- Fruit coulis or chocolate sauce
- Shaved dark chocolate
- Cocoa powder
- Crumbled graham crackers or cookie crumbs
- Caramel or salted caramel sauce
Plating Recommendations
For a beautiful presentation, serve the cheesecake on individual plates or in small dessert cups. Use a spatula or knife to transfer each slice neatly. Drizzle fruit coulis or chocolate sauce around the plate for a stunning contrast.
The secret to a stunning cheesecake is balancing flavors, textures, and colors. Try different toppings and plating styles to find the perfect look. This will highlight the delicious and easy nature of this recipe.
Storage Tips and Shelf Life
To keep your no-bake Jello cheesecake fresh and tasty, proper storage is crucial. This dessert is great for both the fridge and freezer. Store it in the fridge for up to five days to enjoy it all week. For longer storage, freeze it for up to three months.
When you’re ready to eat it, thaw the cheesecake in the fridge overnight. This way, you can enjoy it without any hassle.
Want to save some for later? You can freeze individual slices for easy access. This lets you enjoy a single serving whenever you want, without losing the cheesecake’s quality. By following these tips, you can enjoy your no-bake Jello cheesecake for a long time.
Keeping your homemade cheesecake fresh is all about refrigeration or freezing. With these tips, you can enjoy this delicious treat for days.
FAQ
What is the total prep time for this no-bake Jello cheesecake recipe?
How many servings does the recipe yield?
Can this cheesecake be made in advance?
Is this cheesecake suitable for different occasions?
What are the key ingredients in this Jello cheesecake?
What tools and equipment are needed to make this no-bake cheesecake?
How do you make the graham cracker crust for this Jello cheesecake?
What is the process for making the cream cheese filling?
How do you incorporate the Jello into the cheesecake filling?
How long should the cheesecake chill before serving?
What are some topping and serving suggestions for this Jello cheesecake?
How long will this no-bake Jello cheesecake keep, and can it be frozen?
Have you tried making our recipe ?
There are no reviews yet. Be the first one to write one.

